Last January, I asked Brian for my most ambitious DIY birthday gift ever: cleaning up our unfinished workshop/laundry room/storage room. I wanted to get rid of all the unnecessary stuff, neatly organize the stuff that remained, and most importantly, cover up the bare insulation that currently served as the wall surface. I knew at the time I asked that this was a big project that might take up to half a year to finish. But as it turns out, that was a serious underestimate.
It took us a couple of months just to get around to the first stage of the project. In March, we went through all the stuff in the room and identified several things we didn't need: a junker bike we'd picked up off the curb, loads of other bike parts, my unused guitar case, a hanging-file box, a big box full of brown glass bottles that we'd picked up for free at a yard sale and used only a few of, a box of wooden blocks, and a packing tape dispenser. We donated all the bike stuff to the New Brunswick Bike Exchange and disposed of the rest without difficulty on Freecycle.
After that, we couldn't get started on covering the walls until we'd bought the necessary lumber. But since it came in large sheets and our little Honda couldn't possibly hold more than one, this step required renting a truck. We finally got around to doing that in June, when we were able to use the same truck to pick up a new patio set from Craigslist (along with the lumber for Brian's planter project). The year was more than half over before we actually got the boards cut to size and up onto the walls (first flipping around the batts of insulation so that the moisture barrier was properly positioned on the outside, facing toward the heated space). And it took us all the way until my next birthday—and just a little bit longer—to complete the job of tidying and reorganizing the stuff that remained.
But tidy it we did, and I'm ready at last to unveil the final result. First, as a reminder of what we were up against, here's the "before" picture of the room as it looked when I asked for this present a year ago.
And here's the "after," as seen from roughly the same angle.
The lighting is still terrible for photography, but everything else is so much
better. The two remaining bikes are both neatly hung from the ceiling,
the boxes are all neatly stowed on the shelves, the work table has been cleared
off, and all the tools have been arranged so that they're visible and easy to access.
Here it is from another angle: the before...
...and the after. In this shot, you can see the neat reorganization of the shelves, the workbench (which has a usable surface for the first time in years) and, most of all, the scrap wood pile. It's now all neatly tucked into the back corner, arranged by size, rather than spilling out onto the floor.
Let's come in for a couple of close-ups. Here's one of the wall nearest the door, with its nice new wood covering. In addition to hiding away the insulation, the OSB wood panels make a suitable spot for hanging things. We put up a little hook to hold our clothespin bag (my old purse) and hung up the extra sections of our shoe rack to provide convenient, accessible storage for safety gear and extension cords. This also had the advantage of getting them out of their storage box so we could throw it away, freeing up more shelf space.
And here's a look at our reorganized tool storage. We already had that pegboard and most of the hooks; it was just a matter of arranging them optimally to display most of our tools. The few that don't fit are either tucked in a toolbox or neatly laid out on the cabinet below. (We did buy a few extra tool hooks, but they cost less than $15 total.)
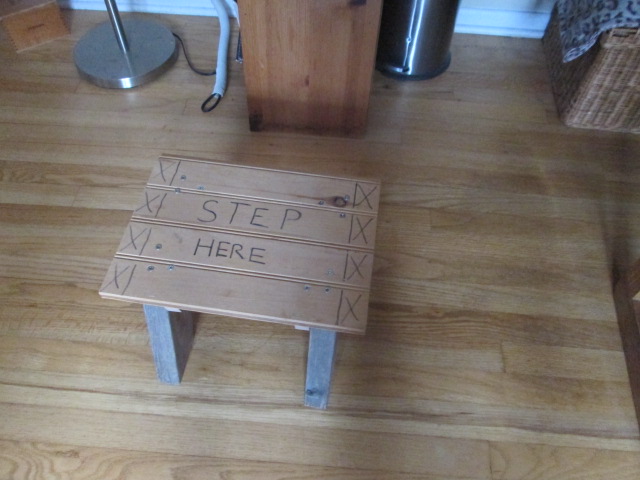
The one problem with this new layout is that I can't quite reach the top row of tools on the board. But Brian addressed that with one more DIY piece, completed just today: a little step stool made out of scrap lumber. (He realized after completing it that the supports were placed too far in, so he added markings to indicate where I could step on it without tipping it over. But he'll probably take it apart and reassemble it at some point.)
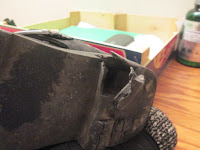
Here's one last area that I didn't manage to get a good "before" picture of: the floating shelf over the utility sink. Previously, this shelf was a piece of MDF that was seriously bowed under the weight of all the various detergents and cleaning tools piled on it. Now it's a smaller piece of leftover plywood that neatly holds a pared-down assortment of cleaning supplies we'll actually use.

So how much did the project cost in total? Well, it depends on how you count. We spent $244.56 on lumber at Home Depot, but about half of that was for the planter project, so that's only about $125 for the walls. Add the $15 or so we spent on tool-hanging hardware, and that's around $140 worth of supplies. But if you include the $102 we spent on the U-Haul to get all that lumber home, that brings the total cost to around $242—still less than the cost of the closet doors that were my 2016 birthday present, but not by much. And in terms of time and elbow grease, this project was probably at least as demanding.
After this complicated project, I'm hoping my birthday request for this year will be a lot easier to fulfill. Over the years, the grout in our shower has become increasingly stained, despite my best efforts to keep it clean. Also, bits of it have fallen out, leaving deeper gaps between the tiles, which makes the stains even harder to remove. So, for this year, I've asked to redo all the grout, then seal it so that it will stay put and stay clean. We've done this job once before, so we know we can handle it, but last time we neglected the sealing step. I'm hoping that with a good sealant, we can keep the grout clean and intact for at least a few years, and when it starts to wear off, we can just reapply the sealant instead of having to replace all the grout. I've already invested in a bottle of Aqua-X Grout Sealer, which got good reviews from several professional review sites (including this professional tiler). Now all we need is a tub of grout and—always the tricky part—a free weekend to apply it.