
Fortunately, I'd dealt with rips like this before, and I knew of a way to salvage the jeans. My sewing skills, I should note, are fairly rudimentary, and I'd tried a bunch of other methods for patching ripped jeans in the past with limited success. Iron-on patches were pretty much useless; besides looking glaringly dark and unnatural against the original fabric, they invariably started to peel off after just one or two washings. I tried ironing them on and then adding a row of stitches around the edge to hold them in place, but the fabric of the patch would just fray around the stitches and work itself loose anyway. I then tried cutting my own patches out of old jeans that had been consigned to the rag bag, but they always seemed to come out lumpy and asymmetrical. It was also very time-consuming, since every patch had to be sewed twice—first hemmed all the way around the edge to stop it from fraying, and then sewed in place on the jeans. (It probably would have been quick enough with a sewing machine, but I'm even more hopeless with a machine than I am at sewing by hand.)
Eventually, after a long series of trials and errors, it dawned on me that every pair of blue jeans has a couple of nice, neat patches ready-made: the two back pockets. All you have to do is remove the pocket from the old jeans with a seam ripper...

...and then, if you've torn the original stitching on the pocket loose in the process, quickly tack the edges back down with a row of loose stitches.

Then, position the pocket over the tear in the knee...

...and whip-stitch it into place, as shown in this tutorial.
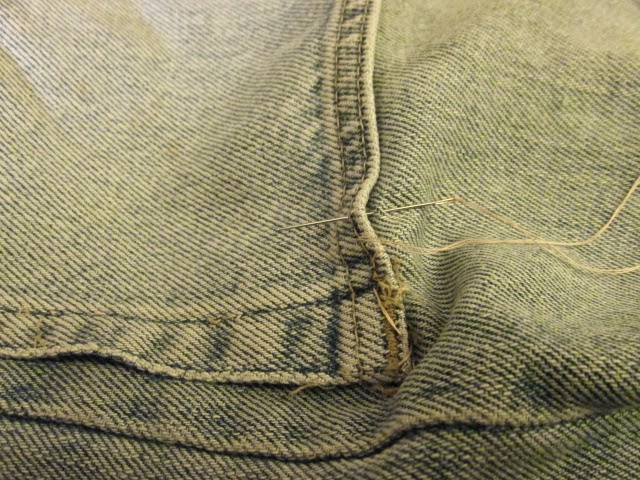
I recommend heeding the author's advice about tacking the patch down with a few "preliminary stitches" first. I neglected to do this, instead trusting to my own efforts to smooth and stretch the fabric as I went, and the fabric still came out severely puckered around the corner where I started and ended the stitch, as you can see here. I ended up having to pluck out and redo the stitching along the whole top edge to even it out.

But eventually, I got the patch seated properly, and the jeans are now...well, not exactly as good as new, but good enough to serve for another year or so. They just have a new, nonfunctional pocket stuck over the right knee—which, in this postmodern age, might just be taken as some sort of ironic statement.

Actually, it doesn't even have to be ironic. A crafting blogger who says she uses this same technique on her daughter's jeans notes that she likes to leave the tops of the pockets open—so they really are functional pockets. Admittedly, they're in a bit of an awkward place, since anything you put in them will poke you in the knee when you sit down, but for small items like keys or change, they might actually be easier to reach into than the back or side pockets.
Unfortunately, this technique won't work on my jeans (or other pants), which invariably wear out on the insides of the thighs—a much trickier spot to patch. I've seen a thread (ha ha) on a crafting message board that proposes a method for fixing these, but it involves cutting out and sewing in a very odd-shaped patch, and I fear it might be beyond my abilities. Maybe the method proposed on this general-interest blog would work better. Not exactly tidy, but probably a good deal more secure.


No comments:
Post a Comment